¶ Introduction
The Xynaps Agent is a Windows Service designed to process incoming CMR requests in the form of XML documents. The service will process the requests, store them in the DigiCMR web application, obtain a valid CMR number and finally if needed sends the CMR document to the requested printer. In addition the service can also handle push notifications from the Xynaps Web Service, to process:
- Updated data from the Web Application to On-Premise services or applications
- Updated data from Device Apps to On-Premise services or applications
- Print commands to On-Premise printers
This document describes the installation and configuration procedure for the service.
¶ Hardware and Software Prerequisites
Supported platforms are:
- Windows Server 2019
- Windows Server 2016 R2
- Windows Server 2016
- Windows Server 2012 R2
- Windows Server 2012
- Windows Server 2008 R2
- Windows Server 2008
When used to print CMR documents, the server where the service is installed must have access to the actual Print Servers, in order for the service to access the printer queues.
-
You will need Local Administrator rights to run the installation.
-
The Microsoft .NET Framework 4.7.2 must be installed (https://dotnet.microsoft.com/download/dotnet-framework/net472). This may require a restart of the operating system. If Windows Installer installation also requires a restart, Setup will wait until the .NET Framework and Windows Installer components have installed before restarting.
-
A Windows Account must be configured to be used as the account under which the service operates. The account must have the following rights:
- "Logon as a Service" rights (set via setpol.msc)
- read/write access to the installation folder of the service.
- read/write access to the Inbox folder location where export documents will be written.
- read/write access to the Outbox folder location where the processed export documents will be written.
- access to the internet over HTTPS. The firewall must be configured accordingly for inbound/outbound traffic over HTTPS
¶ Installing the service
-
The Print Service is installed using a Windows Installer package. The latest version of this installer is available at: https://apps.xynaps.net/downloads/XynapsAgent.zip
-
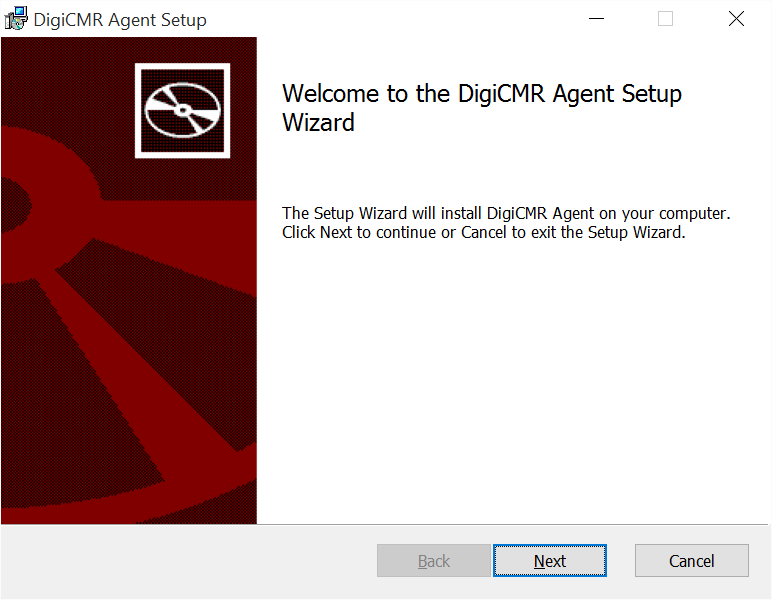
Once you downloaded the installation package, double click the setup.exe file. The installation welcome dialog will appear. Press next to start the installation procedure.
- The next step allows you to configure the service account. Enter the account credentials on this page and click next.

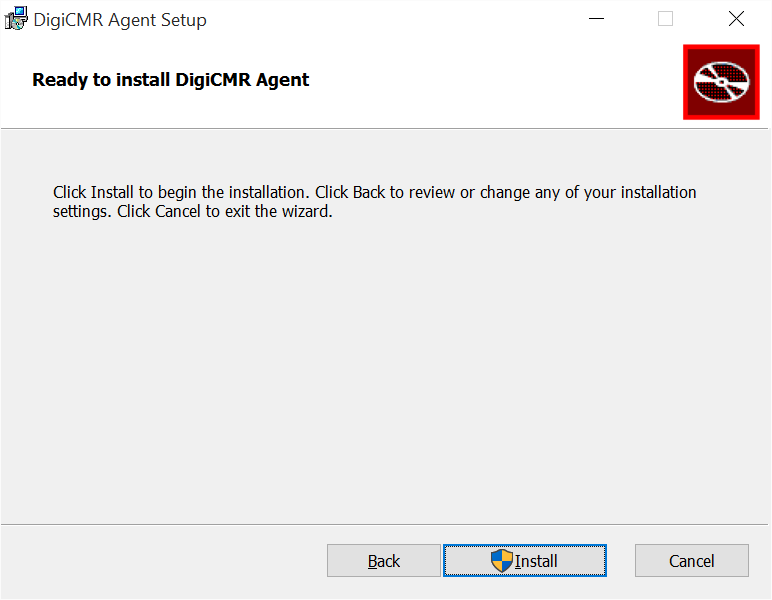
- On the confirmation page click next to start the installation of the necessary components or cancel to abort the installation.
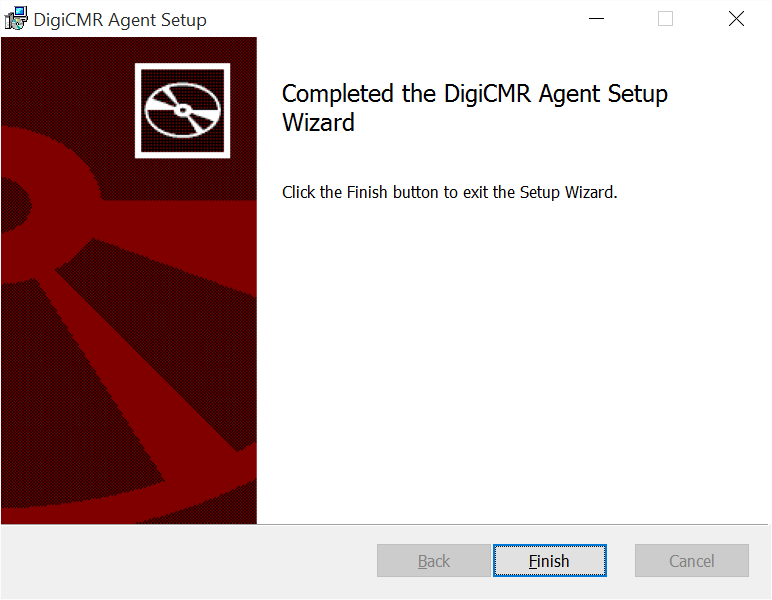
- During the installation you will see a page showing the progress. When the installation has finished. Click the Close button to close the installation wizard.
- Once the installation is finished the DigiCMR Configuration application is launched
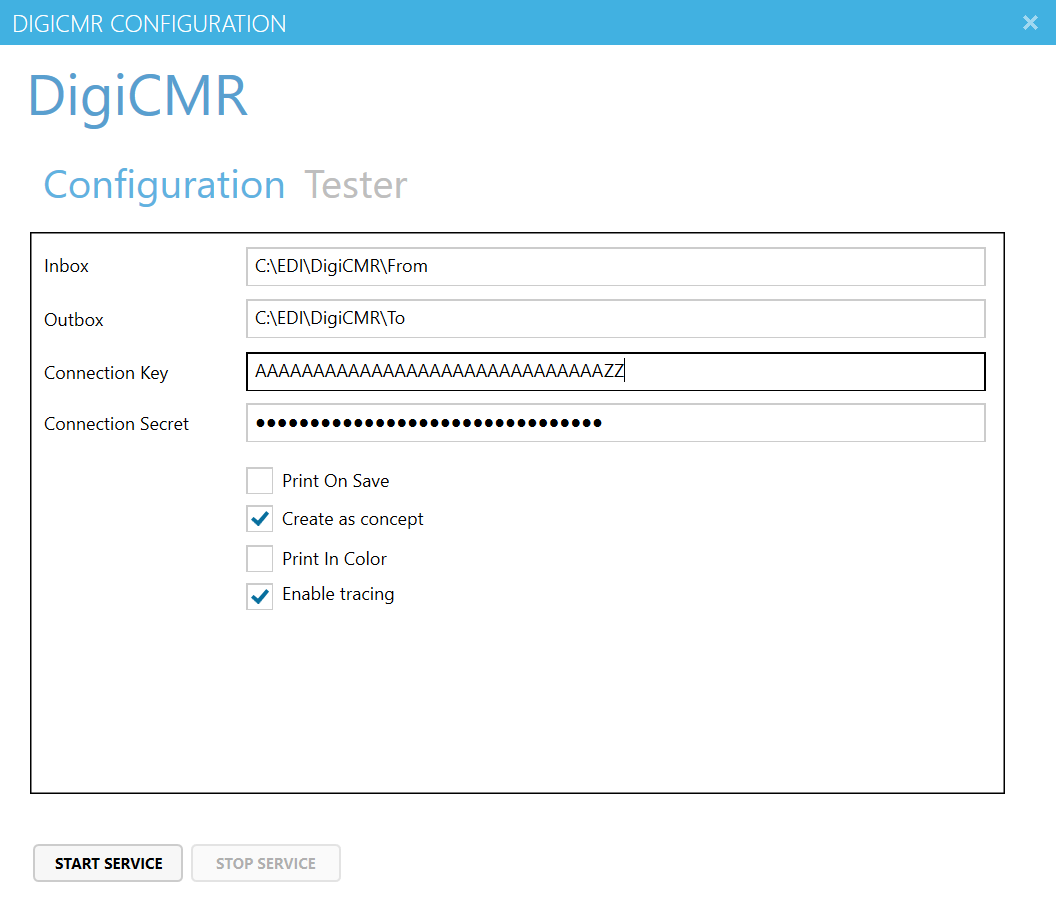
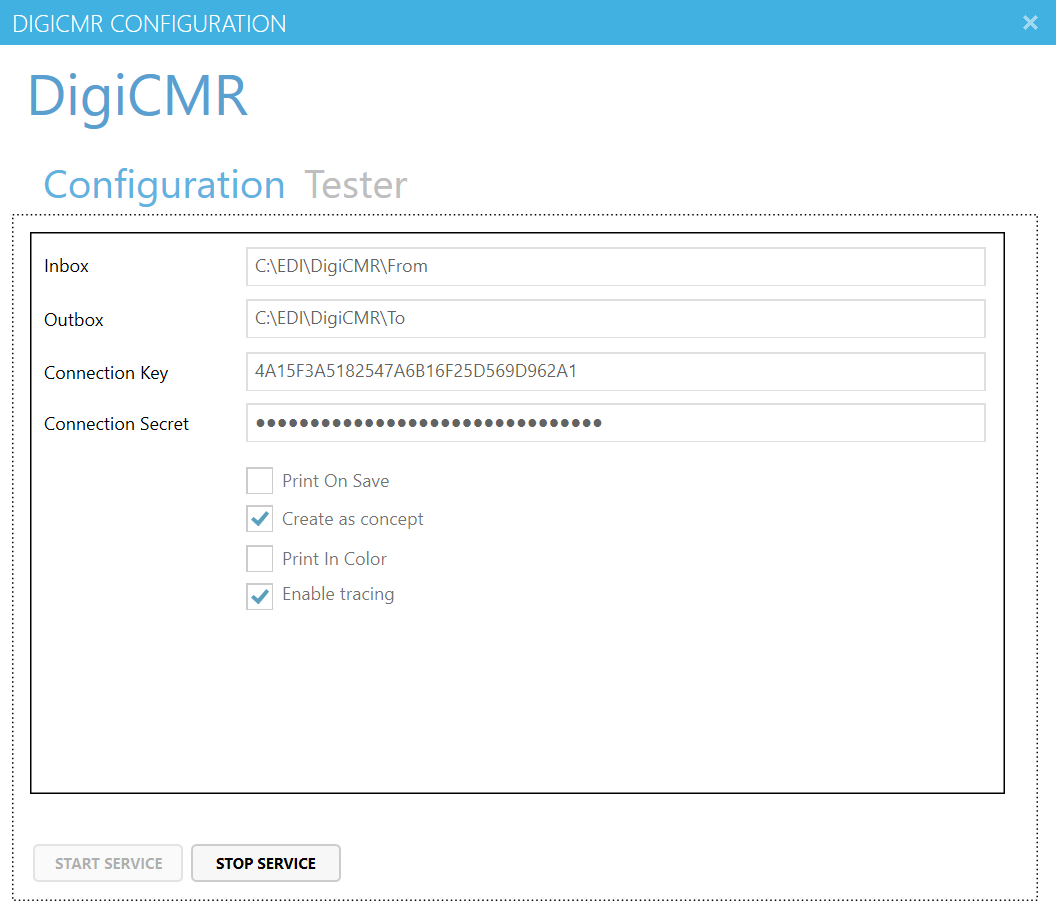
To be able to operate correctly we need to configure the following parameters for the Print Service:
- The Inbox folder where the external applications will write the CMR requests. The service account will need read/write access on this folder.
- The Outbox folder where the service will write the processed requests. As mentioned in the prerequisites, the service account will need read/write access on this folder.
- A Connection Key and Connection Secret used to access the DigiCMR service. Contact DigiCMR (support@pionira.be) to obtain a Connection Key.
- The service can operate in a mode where it will just process and save the CMR requests. If you want the service to operate in that mode, uncheck the Print On Save checkbox.
- The service can operate in a mode where it will just process and save the CMR requests as Concepts. If you want the service to operate in that mode, uncheck the Print On Save checkbox and enable the Create as concept checkbox.
Once you have the above parameters, you can enter them via the DigiCMR Configuration dialog. To save and start the service click the “Start Service” button. When the service is started, the parameter fields and Start Service button will be disabled. The Stop Service button will be enabled.
When you need to alter these settings, you will need to stop the service by pressing the “Stop Service” button. Once the service is started you can close the DigiCMR Configuration dialog.
¶ Configuring proxy server settings
If the service is installed on a server that's behind an authenticating proxy server, then the service will fail to communicate over https to the Xynaps web services and API's.
To configure the service to use the proxy server, locate the .config file in your installation folder and add the following xml snippet to the <system.net> element. Make sure to replace the proxyaddress attribute value with the address of your proxy server.
<system.net>
    <defaultProxy enabled="true" useDefaultCredentials="true">
        <proxy usesystemdefault="true" proxyaddress="http://[your proxy address and port number]" />
    </defaultProxy>
</system.net>
if the element is empty, so if the element is omitted, the proxy settings from Internet Explorer will be used.
<system.net>
    <defaultProxy enabled="true" useDefaultCredentials="true" />
</system.net>
| Element | Description |
|---|---|
| enabled | Specifies whether a web proxy is used. The default value is true. |
| useDefaultCredentials | Specifies whether the default credentials for this host are used to access the web proxy. The default value is false. |